Monday, January 31, 2011

One Way to Deal With Cupcakes Bleeding Through the Liners


I love looking at cupcake liners. In my head I'm trying to think of different way to decorate the cupcakes with coordinating colors, different sprinkles, new designs and techniques to use,etc. I don't know why I do this when 90% of the time the cupcakes show through the liners!!!

One day last week I saw something new at the grocery store: Reynold's Baked for You Staybright Baking Cups. The outside looked like a regular cupcake liner, but when you looked inside you can see that they were lined with aluminum foil! They were about $2.00 for a pack of 24, so I gave it a shot. I didn't make cupcakes with them, I made muffins, but the liners didn't bleed at all! They looked great!!! The only problem I had with them is that they were a little harder to peel off the cupcake.


Reynolds Baked For You StayBrite Baking Cups, Pink/ Green Dots, 36 cups

There's just one problem though. I didn't find them at one of the grocery stores around here, I found it in Birmingham, and now I can't find them anywhere around here. I looked them up online and found out they you can buy them online, too! If you try them out let me know what you think! http://mybrands.com/BakedForYou.aspx

Friday, January 21, 2011

Sugar Cookie Tutorial

While searching online I found an easier way to roll out cookies! I've changed it a little bit, so it's even better now!


To roll and cut out the cookies this is what you'll need: your cookie dough, cookie sheet, silpats or parchment paper, rolling pin, and cookie cutters. No extra flour!


Take your silpats or wax/parchment paper and place it on top of your cookie sheet. A silpat is a reusable cookie sheet liner that doesn't really stick to anything.


Next, take another silpat and put it on top of your cookie dough. Make sure if you're using a silpat to put the nonstick side down.

Take your rolling pin and roll out the dough. When you take the top silpat off this is what it should look like. Make sure that the dough is the same thickness, I roll mine out to about 1/4".


Get your cutters and use them on the dough. Try to get them close together so you cut out more cookies. Save the extra dough and add it to the unused dough.


Pop the cookie sheet in the fridge for 15-30 mins to let the dough get stiff.


The dough should be stiff enough by now that you can peel it away without messing up the shape of the cookie. There is always where I'd want to pull my hair out! lol


Go ahead and bake your cookies. Just remember that they will still cook for a min or so after you take them out of the oven.


Sometimes you'll get the dreaded cookie spread like I did. This is where you have a little too much butter and not enough flour. To remedy this take your cutter again and use it on the cookie.


Don't wait to do this til when the cookies have cooled, they won't be as flexible. I did it right after the cookies came out. If I had waited any longer I would have had problems with the cookies breaking when I was removing the excess.


And now all that's left to do is decorate!

Thursday, January 6, 2011

My New Obsession


I have been looking for some cute recipe cards to go in my Vera Bradley recipe box that I have. I looked all over the internet, but didn't really find what I was looking for. The one place I didn't think to look was at Etsy.com. Not only did I find some recipe cards that I loved, but a ton of other stuff, too!!!

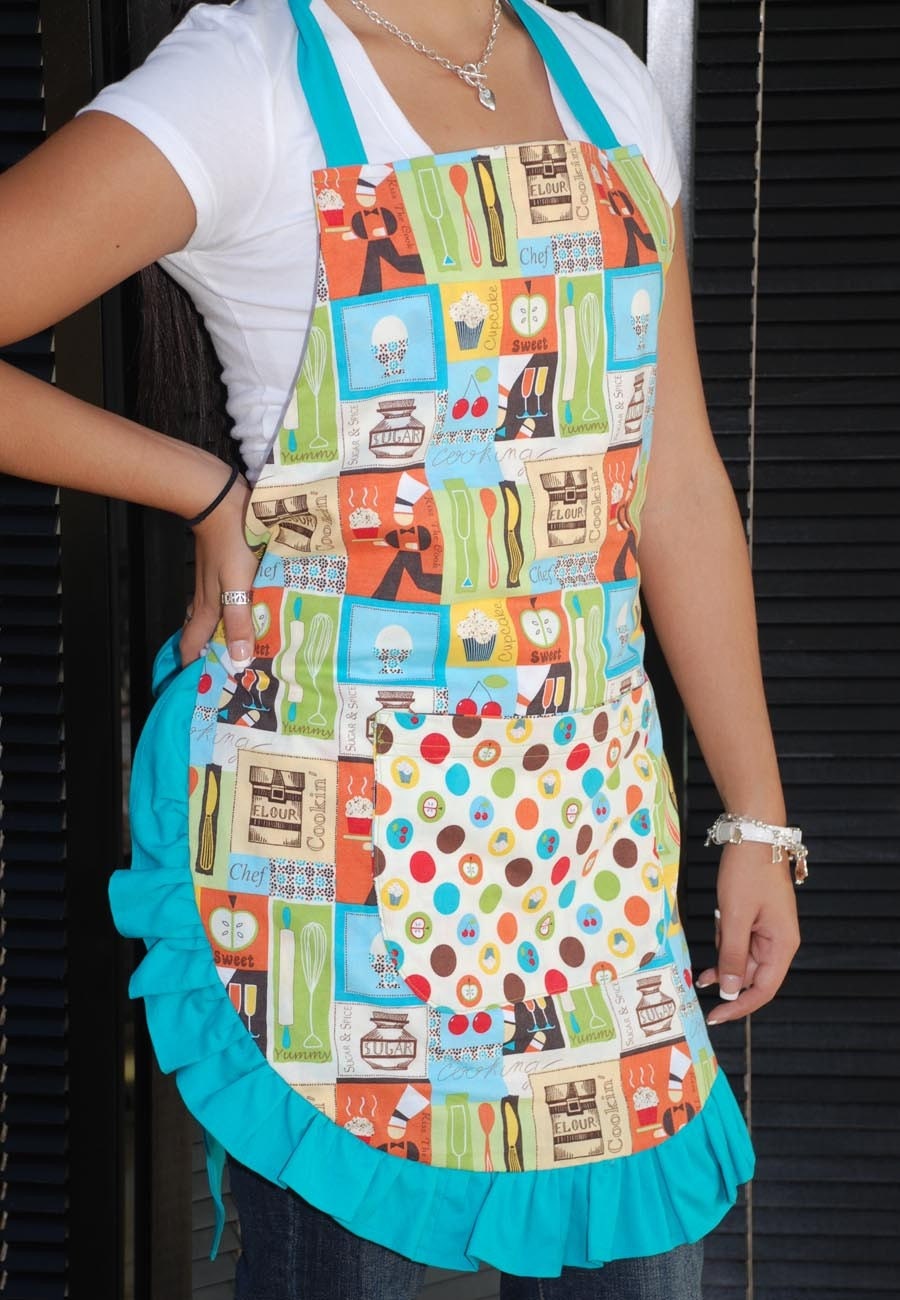
I fell in love with fabric at Walmart a few months ago. I bought some, but I didn't know what all I wanted to do with it (and still don't). While looking on Etsy I found quite a few aprons that are awesome!


Women's Sweet Chef Reversible Apron


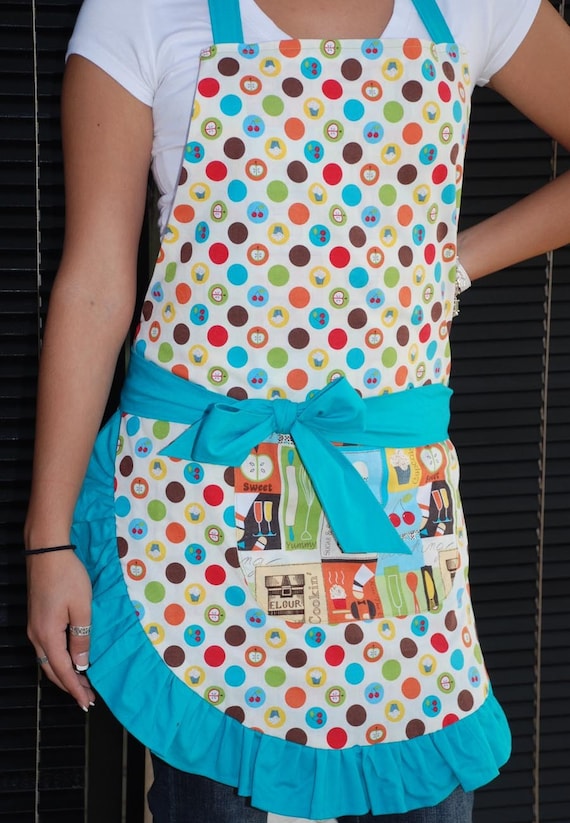
It's even reversible! And just as cute!!!


Women's Sweet Chef Reversible Apron


But there's only one problem. I'm kinda broke...maybe I get buy it in the next week or so before it gets gone. And I wish I had her figure, too!

Saturday, January 1, 2011

Book Review: The Well-Decorated Cake by Toba Garrett


I asked for this book as one of my Christmas presents and I am so glad that I did! I think it's amazing!!!

Toba goes over the basics such as filling, crumb coating, icing a cake, covering with fondant, and stacking cakes. A lot of times cake books are hard for me to understand what the author is trying to get me to do. The way Toba describes things I understand what she's saying. In addition to that, she has pictures for just about every step throughout the book.

She also goes over basic and special tools, piping techniques, gumpaste flowers, and recipes. But, "going over" these topics is an understatement. She talks about the subject as a whole and then talks about the components more specifically before she even starts on the tutorial.

Whether you are just starting your cookbook collection or have an entire library, this book is a must have!!!

The book has ten chapters: Cake Decorating Tools; The Icing That Make the Cake; Preparing & Icing the Cake, Easy Design Techniques; Buttercream Basics; Royal Icing Design Skills; Gumpaste Sugar Flowers; Ornaments, Inscriptions, Drapery, & Toppers; A Gallery of Cakes; and Toba's Favorite Recipes. It has 176 pages.